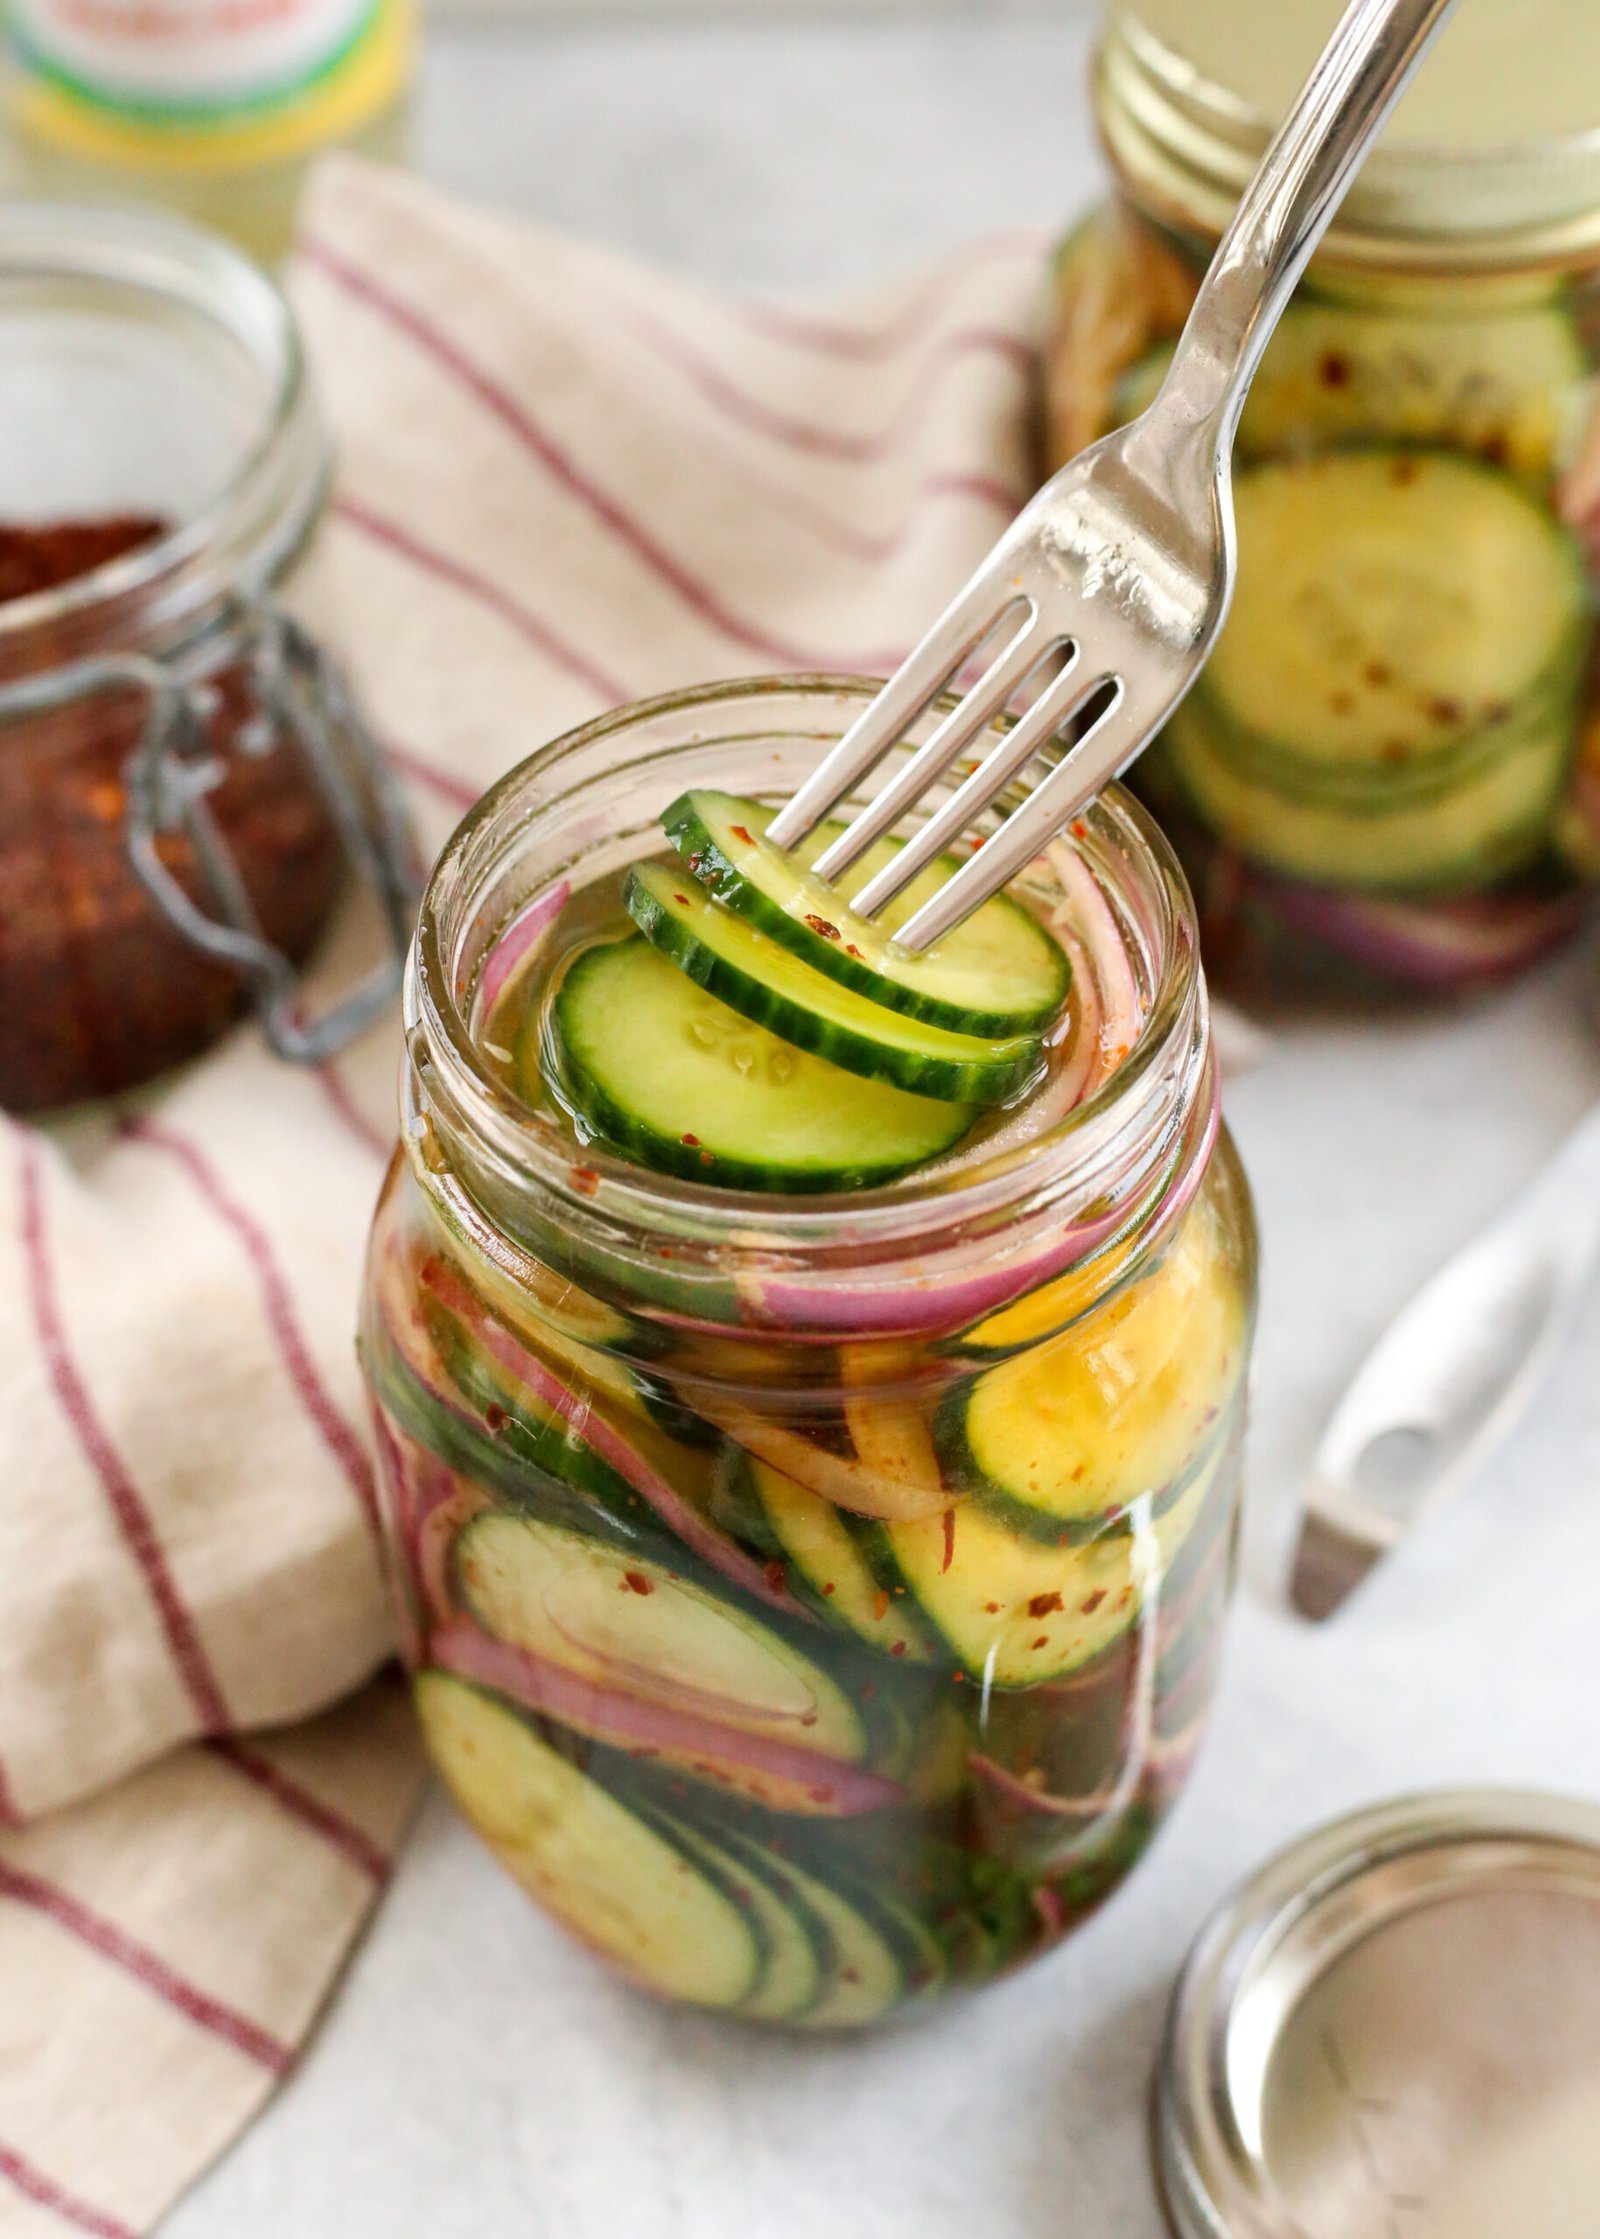
Canning homemade pickled cucumbers, peppers, and onions is one of the most rewarding kitchen projects you can ever start. When you combine fresh crisp cucumbers, bright spicy or sweet peppers, and snappy slice onions in a glowing jar filled with warm seasoned vinegar, you are creating magic. This simple traditional process turns ordinary garden vegetables into a delightful store of crunchy tangy treasures that can sit on your pantry shelf for many months. The beautiful colors inside the jar look like vibrant gems, making every single batch a total pleasure to look at before you even open a single lid. Pickling at home lets you take control of every single ingredient, so you can avoid unwanted chemical preservatives, artificial colors, and excess store bought sugar. It brings back the rustic charm of old fashioned home cooking, bringing comforting smells of dill, garlic, and simmered spices right into your modern kitchen.
People across the world fall deeply in love with this combination because the contrast in texture and flavor is simply unmatched. Cucumbers bring a cool soothing crunch, while peppers add a lovely kick of mild heat or fruity sweetness, and onions offer a sharp savory punch that balances everything out perfectly. Every bite gives you a tiny explosion of mouthwatering acidity paired with natural vegetable sweetness that makes your taste buds wake up instantly. This tangy mix goes beyond simple snacking, as it acts like a flavorful secret weapon that brightens up heavy dishes, cuts through greasy fast food, and elevates ordinary everyday meals into something truly special. Sharing a homemade jar of these delicious pickles with friends, family, or cozy dinner guests always brings warm smiles and enthusiastic compliments. There is something deeply satisfying about hearing the crisp crunch of a well made homemade pickle that factory made options can never duplicate.
There are so many wonderful reasons and special moments to prepare this comforting recipe throughout the changing seasons. During the bright warm summer days, gardens and local farm markets overflow with an abundance of fresh green produce, making pickling the ultimate way to save that sunny harvest before it spoils. Emotionally, taking time to preserve fresh food connects you to peaceful slow living and brings a wonderful feeling of self reliance and calm accomplishment. From a fitness perspective, these delicious pickled vegetables offer a fantastic low calorie snack that satisfies late night crunchy cravings without adding heavy fats, unnecessary calories, or guilt. They are packed with wholesome plant fiber, hydrating water, and naturally occurring vitamins that support your daily wellness journey effortlessly. Whether you are hosting a festive backyard barbecue, packing a cozy picnic basket, or looking for a fast way to add bold flavor to your weekly meal prep, having these colorful jars ready in your pantry is an absolute lifesaver.
Learning how to safely can your own food at home gives you a huge boost of confidence and brings pure joy into your daily cooking routine. It allows you to create lasting edible gifts for holidays, birthdays, or cozy housewarming parties that mean far more than store bought trinkets. Your friends will be amazed when you hand them a beautiful sealed glass jar filled with vibrant green cucumbers, red peppers, and white onion rings. The crisp texture stays delightful for a very long time when processed correctly, so you can enjoy the refreshing taste of summer produce even in the middle of a cold winter afternoon. Taking a short afternoon to make a batch fills your home with warm aromatic spices like mustard seed and celery seed, creating comforting memories that stick with your family for years. Once you experience how easy, healthy, and delicious this classic recipe is, you will never want to go back to buying bland commercial pickled products ever again.
Ingredients You Will Need
To make this delicious batch of home canned pickled cucumbers, peppers, and onions, gather the following fresh produce and pantry staples.
-
Cucumbers: 4 pounds of fresh, small, firm pickling cucumbers, sliced into medium thin rounds
-
Bell Peppers: 2 large sweet bell peppers, red or yellow, sliced into thin strips
-
Hot Peppers: 2 medium fresh jalapeno or serrano peppers, sliced into thin rings for a mild spicy punch
-
Onions: 2 large yellow or sweet white onions, peeled and thinly sliced into rings
-
Pickling Salt: 3 tablespoons of pure non iodized pickling salt for drawing out extra liquid
-
White Vinegar: 3 cups of pure distilled white vinegar with 5 percent acidity
-
Water: 3 cups of clean filtered water
-
Granulated Sugar: 1 cup of pure white granulated sugar to soften the sharp sour acid balance
-
Garlic: 6 whole fresh garlic cloves, peeled and lightly crushed
-
Mustard Seeds: 2 tablespoons of whole yellow mustard seeds
-
Dill Seeds: 1 tablespoon of whole dill seeds or 4 fresh sprigs of garden dill
-
Celery Seeds: 1 teaspoon of whole celery seeds
-
Black Peppercorns: 1 teaspoon of whole black peppercorns
Step by Step Method
Step 1: Prepare the Fresh Produce
Wash all your fresh cucumbers, sweet peppers, spicy peppers, and onions thoroughly under cool running tap water. Scrub the cucumbers gently to remove any soil from the skin. Trim off the very tips of both ends of each cucumber, especially the blossom end, because it contains enzymes that can make pickles soft. Slice the cucumbers into nice medium thin rounds. Slice the sweet bell peppers into neat thin strips, remove the seeds from the jalapenos, and cut them into tiny rings. Peel your onions and slice them into thin complete rings. Place all the prepared sliced vegetables together into a large mixing bowl.
Step 2: Salt and Chill the Vegetables
Sprinkle the 3 tablespoons of pure pickling salt evenly all over the top of the mixed sliced vegetables. Toss everything gently with clean hands so the salt coats every piece. Add a generous handful of clean ice cubes right on top of the salting mixture. Cover the whole bowl with a clean towel and let it sit at room temperature or inside your refrigerator for about 2 hours. This step draws out excess moisture, ensuring your pickled vegetables stay super crisp and crunchy after canning.
Step 3: Rinse and Drain Thoroughly
After 2 full hours have passed, pour the vegetables into a large colander in your sink. Rinse them extremely well with cold running water to wash away all the excess surface salt. Let the colander drain thoroughly for at least 10 minutes. Gently press down on the vegetable mix with a clean towel to remove any remaining free standing liquid. Set the drained crispy vegetables aside while you start preparing your glass canning jars.
Step 4: Prepare the Mason Jars and Water Bath
Wash 6 pint size glass mason canning jars, along with their metal rings and fresh flat lids, in warm soapy water. Rinse them thoroughly. Place your large water bath canning pot on the stove, put the metal bottom rack inside, and fill it halfway up with clean water. Turn the heat to medium so the water warms up. Place your clean glass jars right into the warming water pot to sanitize them and keep them nice and warm. Keeping the glass jars hot prevents them from cracking when hot liquid vinegar is poured inside later.
Step 5: Cook the Tangy Vinegar Brine
In a non reactive stainless steel or enamel saucepan, combine the 3 cups of white distilled vinegar, 3 cups of filtered water, and 1 cup of white sugar. Add the yellow mustard seeds, dill seeds, celery seeds, whole black peppercorns, and crushed fresh garlic cloves directly into the liquid pot. Stir the mixture well and bring it up to a full rolling boil over high heat. Reduce the heat down to medium low and let the liquid simmer gently for about 5 minutes so all the aromatic spices release their wonderful essential oils.
Step 6: Pack the Vegetables into Jars
Carefully remove the hot sanitized glass jars from the warm water pot using a jar lifter tool, and set them on a clean dish towel laid on your kitchen counter. Pack the rinsed cucumber, pepper, and onion mixture tightly into each hot glass jar using clean tongs or clean hands. Leave about half an inch of empty space at the top of each jar. Make sure the colorful sweet peppers, spicy jalapenos, and onion rings are distributed evenly among all the jars so they look beautiful.
Step 7: Pour the Boiling Hot Brine
Using a wide mouth canning funnel and a heat safe measuring cup or ladle, pour the boiling hot vinegar brine over the packed vegetables in each jar. Make sure every piece of vegetable is fully submerged under the hot liquid brine. Leave exactly half an inch of headspace at the top edge of each jar. Use a non metallic plastic bubble remover tool or a chopstick to gently slide along the inner sides of the jar to release any trapped air bubbles. Top up with a little more hot brine if the liquid level drops after releasing the bubbles.
Step 8: Seal the Mason Jars
Wipe the top glass rims of each filled jar thoroughly with a clean, damp paper towel to clean away any tiny bits of food, sugar, or liquid that could prevent a tight seal. Center a clean flat lid on top of each jar, then screw the metal band down gently until it is fingertip tight. Do not twist the metal rings too hard or forcibly tighten them, because air needs to escape safely from inside the jars during the heating process.
Step 9: Process in the Water Bath Canner
Carefully lower the filled glass jars back into the pot of hot water using your jar lifter tool. Make sure the water level inside the pot covers the tops of all the jars by at least 1 or 2 inches. Add more warm water if needed. Cover the pot with its lid and turn the stove burner up to high heat. Once the water reaches a full rolling boil, set a timer for 10 minutes. Adjust for high altitude by adding extra minutes if you live far above sea level.
Step 10: Cool and Store Your Jars
When the 10 minute processing timer ends, turn off the heat burner and remove the main pot lid. Let the jars sit inside the hot water for 5 minutes to calm down. Then, carefully lift the glass jars out with the jar lifter and place them straight onto a clean towel on your kitchen counter, leaving space between them. Let them rest untouched for 12 to 24 hours. You will hear satisfying pop sounds as the jars cool down and vacuum seal. Test the center of each lid after 24 hours; if the lid does not flex up and down, it is fully sealed. Store sealed jars in a cool dark pantry for up to one year. Any unsealed jars should go straight into the refrigerator and be eaten within a few weeks.
Why This Recipe Is Special
This homemade pickling recipe stands out because it strikes an ideal harmony between rich traditional flavors and healthy modern eating. Unlike store bought pickles that sit on super market shelves for months loaded with chemical stabilizers, yellow dyes, and high fructose corn syrup, this recipe relies completely on fresh whole foods. The combination of sweet peppers, spicy jalapenos, and crisp cucumbers delivers a complex flavor profile that satisfies sour, sweet, salty, and spicy cravings all at once.
From a health standpoint, pickled vegetables are a magnificent addition to your daily diet. The primary ingredients are naturally very low in fat and calories, making them a great option for weight management and healthy fitness goals. Vinegar is known to support smooth digestion and help balance healthy blood sugar levels after meals. Furthermore, onions and peppers are packed with rich antioxidants, including vitamin C and beta carotene, which help boost your immune system and protect bodily cells from daily stress.
The crisp crunch of these home preserved vegetables provides incredible eating satisfaction. The process of salting the fresh produce beforehand ensures that the cellular structure of the vegetables remains tight and firm, preventing the disappointing mushiness often found in low quality pickles. Eating these colorful pickles feels like a treat, yet they provide vital dietary fiber that supports good gut health without adding heavy energy loads to your body.
Extra Tips for Better Taste
-
Use Fresh Pickling Cucumbers: Always pick firm, small Kirby or pickling cucumbers rather than large smooth English or field cucumbers, as pickling varieties have thinner skins and far fewer watery seeds.
-
Add Grape Leaves for Extra Crunch: Place one clean fresh grape leaf or a oak leaf at the bottom of each jar. The natural tannins inside the leaves help keep the cucumber slices super crisp.
-
Try Apple Cider Vinegar: If you prefer a slightly softer, fruitier sour taste instead of sharp white vinegar, substitute half of the white vinegar with pure apple cider vinegar that has 5 percent acidity.
-
Adjust the Heat Level: Customize the spice profile to fit your family preferences. Add extra habanero peppers for wild heat, or skip the jalapenos entirely and use extra sweet bell peppers for a mild, family friendly version.
-
Let Them Age in the Pantry: While you can open a jar right away, waiting about 2 to 3 weeks before opening the first jar allows the spices and tangy brine to penetrate deep into the vegetables for maximum flavor.
-
Use Fresh Whole Spices: Avoid old ground spices which can make your liquid brine cloudy and dull. Fresh whole seeds and whole peppercorns give a clean look and bright pop of flavor.
Final Thoughts
Making your own canned pickled cucumbers, peppers, and onions at home is a wonderfully rewarding cooking journey that brings great flavor and lasting health benefits into your daily life. It preserves the natural sweetness and vibrant colors of fresh summer vegetables, allowing you to enjoy wholesome homemade goodness all year long. Once you hear that magical popping sound of the jars sealing on your counter, you will feel a genuine sense of pride and joy. Tuck these lovely jars away in your pantry, share them generously with your loved ones, and enjoy the refreshing, crisp tang of true homemade pickles whenever you desire.
Nutrition Details
Here is the estimated nutritional value for a single serving of this delicious pickled mix.
General Recipe Yield Information
-
Total Preparation Time: 35 minutes
-
Resting and Salting Time: 2 hours
-
Processing Time: 10 minutes
-
Total Recipe Yield: 6 pint jars
-
Single Serving Size: Half cup about 100 grams
Estimated Nutrition Per Serving Table
| Nutrient Component | Amount Per Serving | Daily Value Percentage |
| Calories | 35 kcal | 2 percent |
| Total Carbohydrates | 8 grams | 3 percent |
| Dietary Fiber | 1.5 grams | 6 percent |
| Total Sugars | 5 grams | Not Established |
| Protein | 1 gram | 2 percent |
| Total Fat | 0.2 grams | 0 percent |
| Saturated Fat | 0 grams | 0 percent |
| Cholesterol | 0 milligrams | 0 percent |
| Sodium | 380 milligrams | 16 percent |
| Vitamin C | 25 milligrams | 28 percent |
| Vitamin A | 450 IU | 9 percent |
| Calcium | 20 milligrams | 2 percent |
| Iron | 0.5 milligrams | 3 percent |
Disclaimer
This recipe and the accompanying nutritional information are provided strictly for general educational and inspirational purposes. Every person has a unique body, different health requirements, individual medical conditions, and unique dietary needs. The nutritional values listed above are estimations based on standard ingredient databases and may vary depending on the exact brand, size, or fresh quality of produce you use. Always consult with a qualified doctor, nutritionist, or healthcare professional before making significant changes to your personal diet, especially if you need to monitor your daily sodium intake or manage conditions like high blood pressure or diabetes. Home canning requires strict adherence to safe food handling and processing practices to ensure food safety.