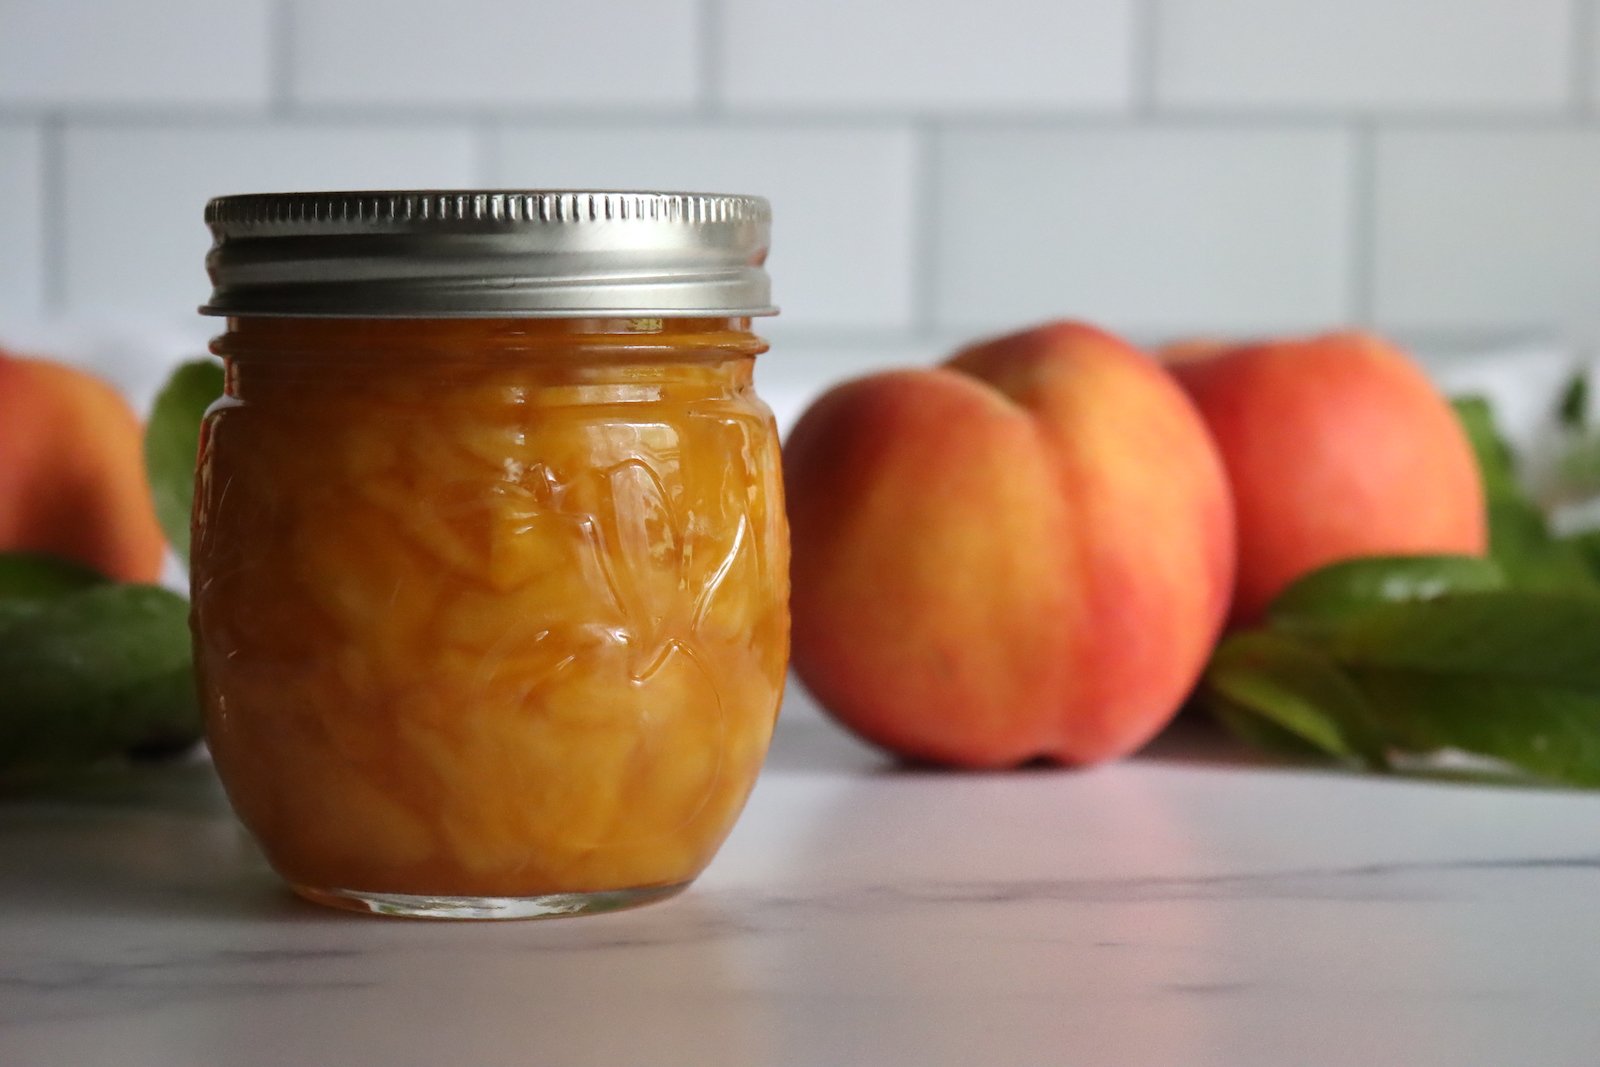
Making your own sweet spread at home is one of the most rewarding kitchen projects you can ever try. When summer arrives and ripe peaches fill the market shelves, there is no better way to capture that sunny warmth than by boiling them down into a thick and glossy jar of homemade preserve. This simple recipe teaches you how to transform raw fresh peaches into a golden spread using simple tools you already have in your kitchen. You do not need any special culinary background or years of cooking experience to get started. The process of preparing fresh fruit and cooking it with sweet ingredients brings a quiet joy to any morning routine. When you open a sealed jar in the middle of winter, the bright fruit flavor brings back memories of warm summer afternoons.
People all across the world fall in love with homemade jams because the taste is far superior to anything you can buy in a grocery store. Commercial products often rely on artificial colors, heavy syrups, and synthetic preservatives that hide the true taste of the fruit. In contrast, making your batch at home lets you control every single ingredient that goes into the pot. You get pure fruit goodness in every bite, balanced with just the right amount of sweetener and lemon juice. The texture is soft, thick, and perfectly spreadable on warm toast, biscuits, or fluffy pancakes. Sharing these beautifully filled jars with friends and family brings a feeling of pride that store bought alternatives simply cannot match.
You might wonder when is the best moment to sit down and craft a fresh batch of fruit spread. Late summer is the prime season because peaches are naturally sweet, soft, and packed with juicy flavor. Making this recipe can also be a wonderful family activity where children and adults work together to wash, peel, and slice the harvest. Beyond the cozy kitchen memories, choosing to prepare your own spread offers fantastic benefits for your daily eating habits. You can avoid unnecessary chemical additives, adjust the natural fruit ratio, and enjoy wholesome ingredients that support a clean lifestyle. A warm slice of bread topped with fresh fruit preserve serves as a wonderful post workout reward or a comforting breakfast treat before a busy day.
Starting this kitchen journey gives you complete control over your food while teaching you a traditional skill that lasts a lifetime. The gentle bubbling of fruit on the stove creates an amazing aroma that fills your whole home with natural sweetness. Once you master the basic steps of preparing the fruit and heating the mixture to the right thickness, you can easily repeat the process every year. Preserving seasonal produce helps reduce food waste when you have extra fruit sitting on your counter. Each golden jar stored safely in your pantry becomes a delicious gift for loved ones or a quick addition to your weekly meal plan.
Ingredients You Will Need
To make this delicious preserve, gather the following fresh items and basic pantry goods before you begin cooking:
-
Four pounds of fresh ripe peaches peeled pitted and finely chopped
-
Four cups of granulated white sugar
-
One fourth cup of fresh lemon juice
-
One packet of regular powdered fruit pectin
-
One half teaspoon of pure butter to reduce foam formation
-
One half cup of water if needed for crushing the fruit
Step by Step Method
Preparing Your Fresh Fruit
Start by choosing ripe peaches that yield slightly to gentle pressure from your thumb. Wash the fruit thoroughly under cold running water to remove any dirt or residue.
To peel the fruit easily, bring a large pot of water to a rolling boil. Use a small knife to mark a soft cross shape on the bottom of each fruit. Drop the fruit into the boiling water for thirty seconds. Remove them with a slotted spoon and plunge them directly into a bowl filled with ice cold water. The skins will slide off smoothly without wasting any of the soft flesh beneath.
Remove the inner hard pits and chop the peeled flesh into small chunks. If you prefer a smoother texture, you can lightly crush the chopped pieces with a potato masher in a large bowl.
Sterilizing the Jars and Lids
Place your glass canning jars inside a large pot of hot water. Ensure the water completely covers the top of the jars by at least one inch. Bring the water to a boil and let the jars cook for ten minutes to sanitize them fully.
Keep the jars warm until you are ready to pour in the hot fruit mixture so the glass does not crack. Place the flat metal lids in a small bowl of warm water to soften the rubber sealing rings.
Cooking the Fruit Mixture
Transfer your prepared fruit into a heavy bottomed pot. Add the fresh lemon juice, which provides vital acidity and balances the natural sweetness of the fruit.
Sprinkle the powdered pectin over the fruit mixture and stir continuously until everything dissolves completely. Add the half teaspoon of butter to the pot, as this prevents excessive foam from floating to the surface while boiling.
Set the heat to medium high and bring the fruit mixture to a full rolling boil that cannot be stirred down. Once it reaches this stage, pour in all the measured white sugar at once. Stir vigorously to ensure the sugar dissolves fully into the hot liquid.
Bring the entire pot back to a hard rolling boil while stirring continuously. Once it reaches a strong boil again, keep it boiling hard for exactly one minute while stirring constantly to prevent scorching at the bottom of the pot.
Filling and Sealing Your Jars
Turn off the heat and remove the pot from the stove top. Use a large metal spoon to scrape away any small foam bubbles lingering on top of the liquid.
Carefully lift your warm glass jars out of the hot water bath using jar tongs. Place them upright on a clean kitchen towel laid out on your counter.
Pour the hot fruit mixture into the warm jars using a clean kitchen funnel. Leave one quarter inch of empty space at the top of each jar. This empty space allows the fruit preserve to expand correctly during heating without leaking.
Wipe the top rims of the glass jars with a damp cloth to clear away any sticky drips. Place a flat lid centered on top of each jar and screw the metal band down until it is finger tip tight. Do not overtighten the bands, as air needs to escape during the final heating stage.
Water Bath Canning Process
Lower the filled jars back into the large pot of hot water using your jar tongs. Ensure the water level sits at least one inch above the top of the jar lids.
Place the lid on the main pot and bring the water to a strong rolling boil. Process the filled jars in the boiling water for ten minutes. If you live at a high elevation above one thousand feet, add extra boiling time according to standard home preservation charts.
After ten minutes of boiling, turn off the burner and remove the main pot lid. Let the jars rest inside the hot water for five minutes to stabilize the internal pressure.
Carefully lift the jars out using your tongs and place them on a dry towel in a quiet area away from cold drafts. Let the jars sit completely undisturbed for twenty four hours while they cool down naturally.
As the jars cool down, you will hear a distinct popping sound from the lids. This sound confirms that a proper airtight seal has formed. Check each lid after cooling by pressing the center with your finger. If the center stays flat and does not bounce up or down, your jar is properly sealed and ready for long term storage.
Why This Recipe Is Special
This homemade spread stands out because it retains the vibrant aroma and pure flavor of fresh orchard fruit. Unlike store bought options filled with artificial additives, this home recipe relies on straightforward kitchen essentials.
Peaches carry natural vitamins such as Vitamin A and Vitamin C along with essential dietary fiber. Enjoying this treat gives you dietary benefits while satisfying your sweet cravings in a simple way.
The inclusion of fresh lemon juice adds a crisp zest that balances the deep natural sugars of the peaches. The final result is a sparkling golden spread that looks beautiful on any dining table.
Creating your own preserves saves money over time, especially when buying local fruit during peak season. You gain complete peace of mind knowing exactly what your family consumes every morning.
Extra Tips for Better Taste
-
Choose fruit that is fragrant and slightly soft for the best flavor release during cooking.
-
Add one half teaspoon of ground cinnamon or a pinch of nutmeg for a warm spice variation.
-
Mix in a splash of pure vanilla extract right after turning off the heat for a dessert style flavor profile.
-
Use a mix of fully ripe fruit and slightly firm fruit to improve the natural setting strength.
-
Never reduce the listed amount of sugar, as sugar is essential for proper preserve setting and safe preservation.
-
Store sealed jars in a cool dark pantry to maintain bright color and fresh flavor for up to one year.
-
Keep any unsealed jars inside the refrigerator and consume the content within three weeks.
Final Thoughts
Making your own golden peach spread at home is a simple task that fills your home with comforting warmth and wonderful aromas. It transforms everyday bread into a special breakfast treat and brings bright sunshine to your kitchen all year long. Once you experience the rich taste of homemade jam, you will never want to go back to store bought options. Take your time, enjoy every single step of the process, and share your delicious creations proudly with the people you love.
Nutrition Details
Below is an approximate nutritional guide for a single serving size of one tablespoon of homemade spread:
| Nutrient | Amount Per Serving |
| Serving Size | 1 Tablespoon |
| Calories | 50 kcal |
| Total Fat | 0 grams |
| Sodium | 0 milligrams |
| Total Carbohydrates | 13 grams |
| Dietary Fiber | 0.5 grams |
| Sugars | 12 grams |
| Protein | 0.1 grams |
| Vitamin C | 4 percent daily value |
Disclaimer
Every human body functions differently and individual nutritional requirements can vary based on health conditions. The nutritional details provided above are simple estimates designed for general information purposes only. Ingredients may vary depending on the exact fruit variety and specific brands used in your kitchen. If you have dietary concerns or metabolic conditions such as diabetes, consult a qualified healthcare provider before making major changes to your diet.