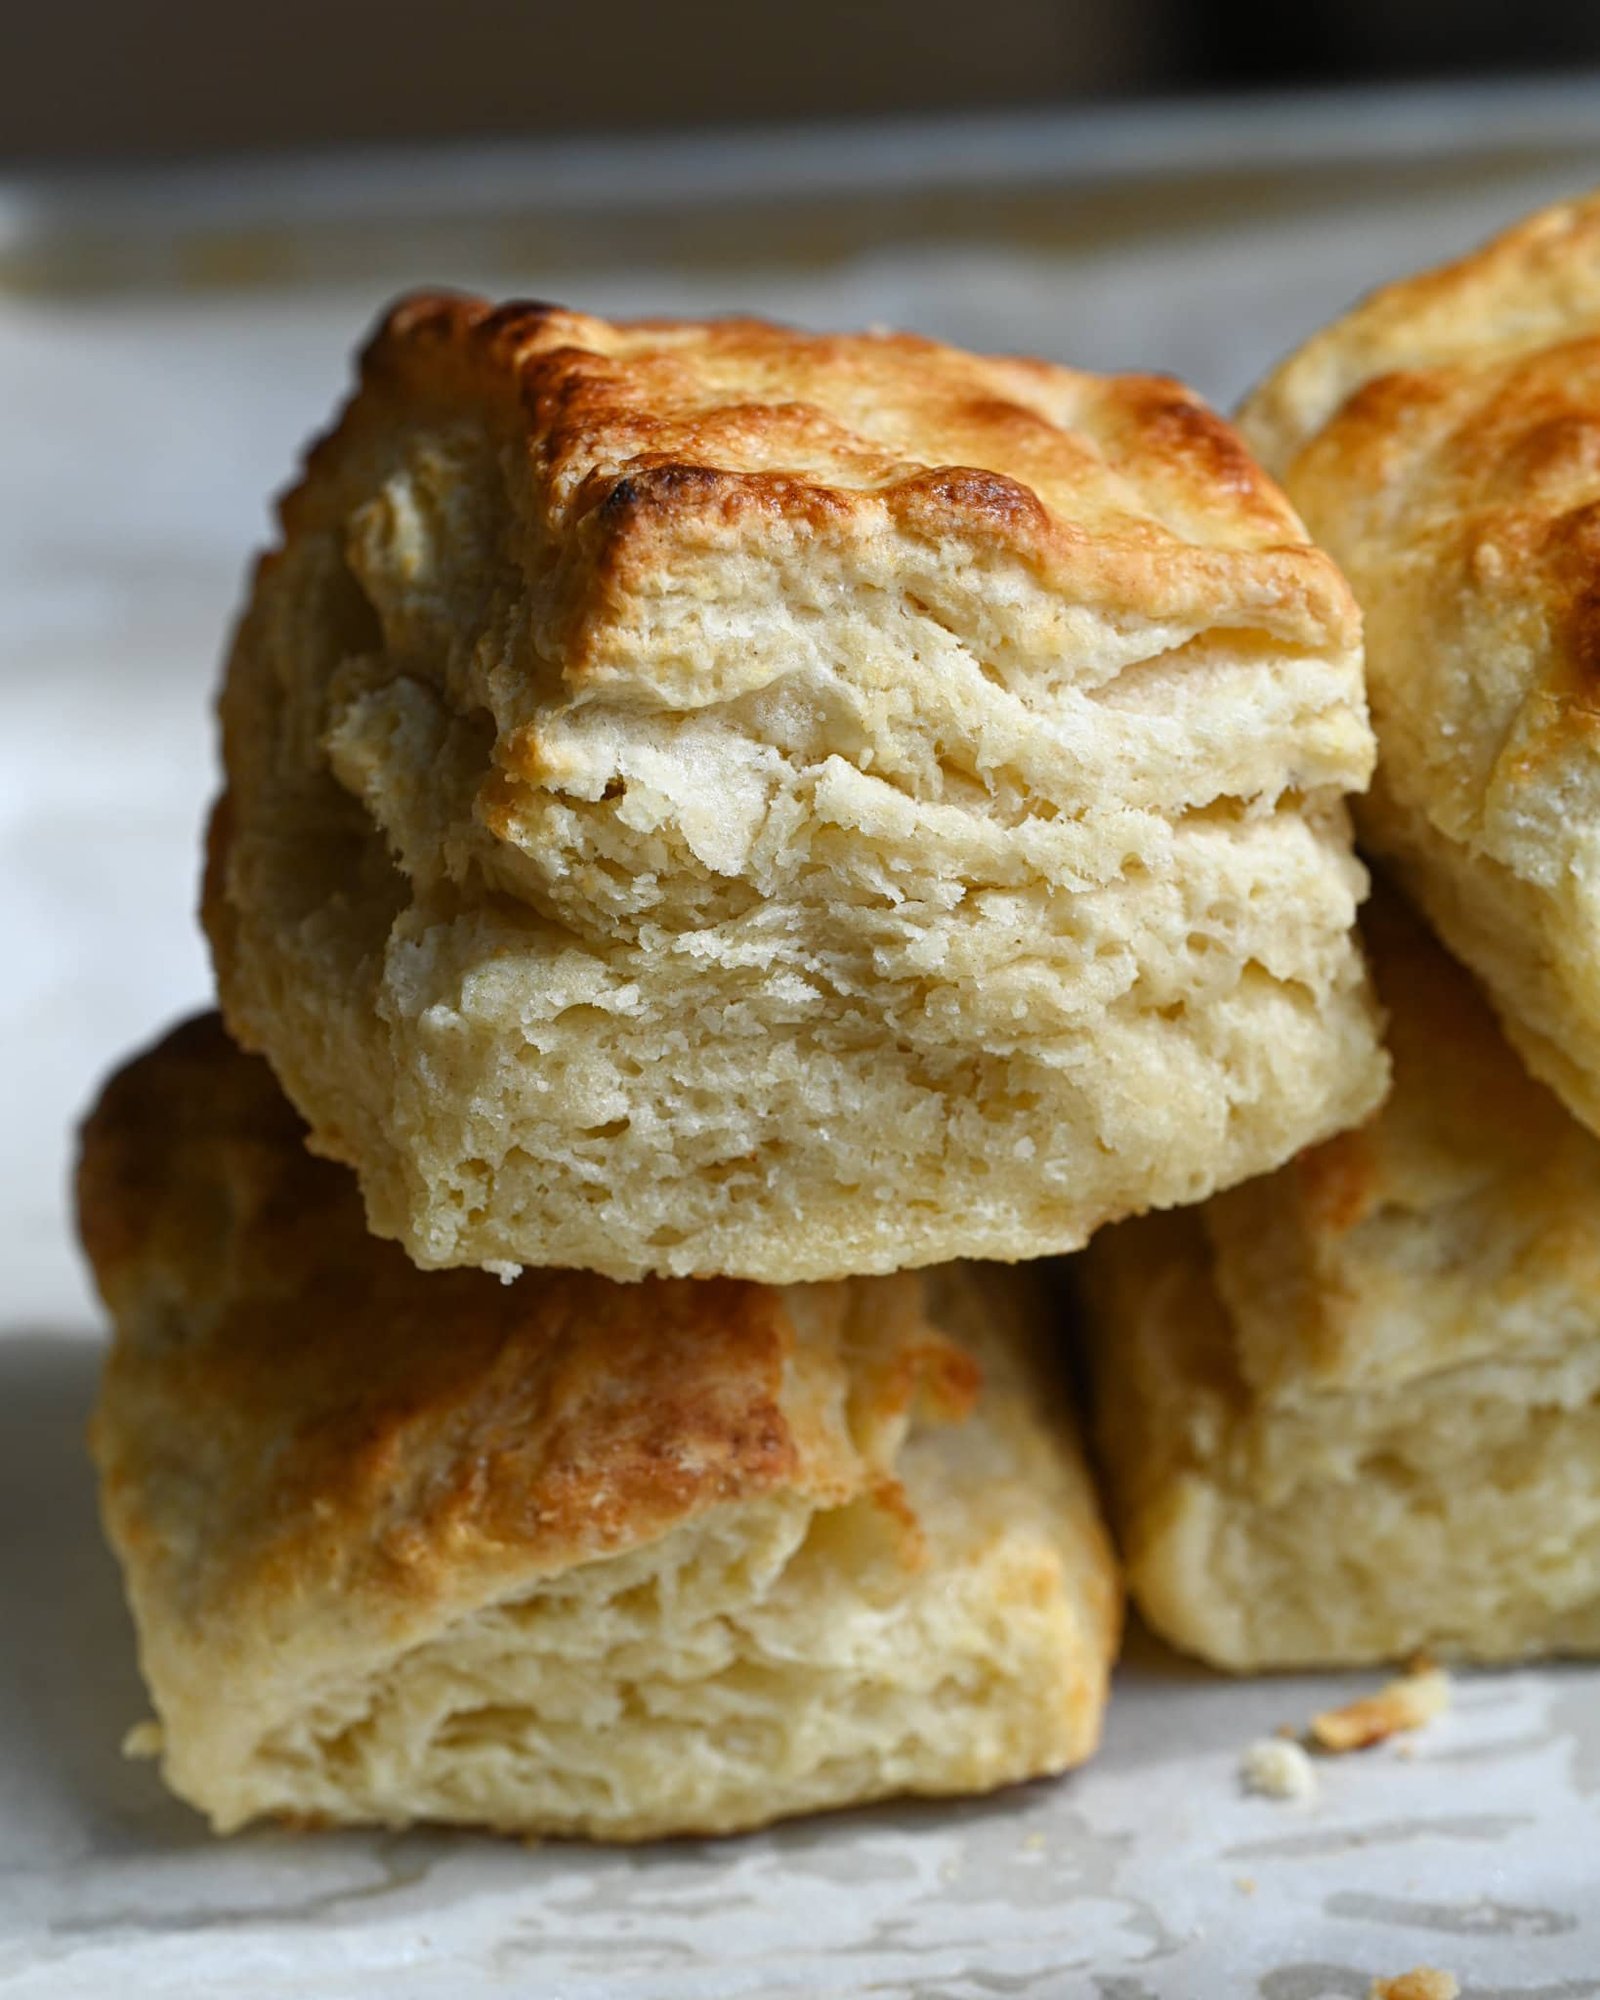
Making sourdough buttermilk biscuits at home is one of the most rewarding kitchen projects you can ever try because it combines the deep flavor of fermented dough with the soft and flaky texture of classic comfort food. This recipe is all about taking simple pantry staples like flour, butter, and milk, and transforming them into warm, golden pastries that fill your whole home with an incredible buttery aroma. When you mix your active sourdough starter or leftover discard into cold buttermilk and flaky flour layers, you unlock a completely new world of flavor that store bought biscuits simply cannot match. Many people find baking with sourdough a bit scary at first, but this straightforward recipe breaks down every single step so that even complete beginners can achieve success on their very first attempt. Whether you are looking for a creative way to use up your extra starter or you just want to bake a fresh batch of bread for breakfast, these sourdough buttermilk biscuits are guaranteed to become a reliable favorite in your household.
The reason why so many home bakers fall in love with this particular recipe is because it delivers a rich taste experience that is both complex and deeply satisfying. Traditional biscuits are already famous for their rich taste, but adding sourdough starter takes that deliciousness to an entirely higher level by introducing a subtle tangy note that balances out the heavy butter. People love how the edges get wonderfully crisp and golden while the inside remains amazingly soft, pillowy, and layered with tender pockets of melted butter. It is the kind of comfort food that makes everyone gather around the kitchen counter the moment the baking tray comes out of the hot oven. Once you taste the difference that real fermented starter makes in a fresh biscuit, going back to canned dough or quick mixing powders will feel almost impossible because nothing compares to real homemade quality.
You should consider making these sourdough buttermilk biscuits whenever you want to bring a little bit of extra warmth and togetherness into your daily life. They are perfect for lazy weekend mornings when you have a bit of quiet time to bake a hearty breakfast for your family, but they also work wonderfully as a quick side dish for weekday dinners like hearty soups or warm chicken stews. Beyond just taste, baking these biscuits is a wonderful emotional experience that lets you slow down, work with your hands, and enjoy the simple process of creating good food from scratch. For those who pay attention to their digestive wellness, using sourdough is also a great fitness choice because the natural fermentation process helps break down grains, making the final bread much easier on the stomach compared to standard baked goods made with rapid commercial yeast.
Preparing a batch of these glorious biscuits is also a fantastic way to build your confidence in the kitchen while reducing food waste by using up leftover sourdough starter that might otherwise end up in the trash bin. Food brings people together, and serving a warm plate of homemade buttermilk biscuits spread with real butter or sweet honey is one of the simplest ways to show love to your family and friends. You do not need any expensive equipment or professional culinary skills to pull this off, just a few basic kitchen items and a willingness to follow simple steps. Once you master the basic folding technique that creates those iconic flaky layers, you will find yourself looking for any excuse to make this recipe over and over again for holidays, special family brunches, or peaceful cozy Sundays at home.
Ingredients You Will Need
2 cups all purpose flour
1 tablespoon baking powder
half teaspoon baking soda
1 teaspoon fine sea salt
half cup unsalted butter very cold and cut into tiny cubes
1 cup sourdough starter active or discard
half cup cold buttermilk
2 tablespoons melted butter for brushing on top after baking
Step by Step Method
Start by gathering all your ingredients and making sure that your butter and buttermilk are extremely cold because cold temperature is the absolute secret to getting tall and flaky layers in your biscuits. Take a large mixing bowl and add the all purpose flour, baking powder, baking soda, and fine sea salt, then use a wire whisk to stir everything together until all the dry ingredients are completely combined. Take your cold butter cubes out of the refrigerator and drop them directly into the flour mixture, then use your fingertips or a pastry cutter to rub the butter into the flour until the mixture looks like coarse crumbs with some small pea sized pieces of butter still visible throughout the bowl.
Next, measure out your sourdough starter and cold buttermilk in a separate liquid measuring cup and stir them together gently so that the thick starter dissolves into the liquid milk easily. Pour this liquid mixture directly into the center of your dry flour and butter bowl, then use a wooden spoon or a spatula to mix everything together just until a shaggy dough begins to form. Be very careful not to overmix the dough at this stage because working the flour too much will make your biscuits tough instead of soft and tender. Transfer the messy dough onto a clean, lightly floured kitchen counter or a large cutting board so that you can shape it into a neat single block.
Now you will use a simple folding technique to build high layers inside your dough without overworking the flour. Gently press the dough out into a flat rectangle about 1 inch thick using your hands, then fold one third of the dough over the middle and fold the other third over top just like you are folding a paper letter. Turn the folded dough 90 degrees, press it down gently into a flat rectangle again, and repeat this folding process three more times to create many paper thin layers of butter wrapped inside the flour. After your final fold, pat the dough down until it is about 1 inch thick and ready to be cut into individual biscuit shapes.
Preheat your kitchen oven to 425 degrees Fahrenheit and line a large baking sheet with a piece of parchment paper so the bottom of the biscuits will not stick or burn. Take a round biscuit cutter or a sharp glass cup, press it straight down into the thick dough without twisting, and lift it straight back up to form clean circles. Place each cut biscuit onto your prepared baking sheet with their sides gently touching each other if you want soft side edges, or space them 1 inch apart if you prefer crispy edges all around. Gather any leftover scraps of dough, press them together gently, and cut out the last few remaining biscuits until all the dough is used up completely.
Place the baking sheet into the middle rack of your hot oven and bake for about 15 to 18 minutes until the tops turn a beautiful deep golden brown color and the biscuits have risen nice and tall. While they are baking, melt your remaining two tablespoons of butter in a small bowl so it is ready for coating the baked tops. As soon as you pull the hot baking sheet out of the oven, brush the melted butter generously over the top of every warm biscuit to give them a shiny look and extra rich flavor. Allow the biscuits to cool down on the tray for about 5 minutes before serving them warm with your favorite spreads.
Why This Recipe Is Special
This recipe stands out from basic baking guides because it combines traditional sourdough fermentation with the comforting, classic style of quick southern baking. The sourdough component introduces beneficial natural acids that help break down complex starches, making the grains easier for your body to digest while giving the baked dough a rich flavor profile that standard flour simply cannot achieve on its own. Furthermore, using sourdough discard reduces kitchen food waste, allowing you to turn simple leftover ingredients into a high quality meal that costs very little money to prepare from scratch. The combination of cold buttermilk and real butter creates a tender texture that melts in your mouth, offering a luxurious eating experience without requiring artificial additives or chemical preservatives found in commercial food products.
Extra Tips for Better Taste
To make your sourdough buttermilk biscuits taste even more incredible, try grating your cold butter with a cheese grater instead of cutting it with a knife, as this creates tiny uniform shreds that distribute perfectly throughout the flour mixture. Another great trick is to place your flour and butter bowl into the freezer for 10 minutes right before you add the liquid sourdough mixture, ensuring everything stays ice cold during the entire shaping process. If you enjoy savory flavor variations, you can mix in half a cup of shredded sharp cheddar cheese, chopped fresh chives, or cooked bacon bits into the dry flour before adding the buttermilk. For those who love a sweet twist, brushing the tops with raw honey or maple syrup instead of plain melted butter right after baking adds a delightful sweet glaze that pairs wonderfully with the tangy dough flavor.
Final Thoughts
Baking your own sourdough buttermilk biscuits is a deeply satisfying kitchen activity that brings wonderful homemade flavor and cozy comfort to your dining table. With just a handful of simple pantry ingredients and a little bit of care during the folding process, you can easily create soft, tall, and flaky biscuits that will impress your family and friends every single time. Give this beginner friendly recipe a try during your next cooking session, and enjoy the wonderful warmth of fresh, homemade bread straight from your oven.
Nutrition Details
| Nutritional Element | Amount Per Serving |
| Total Calories | 210 kcal |
| Total Carbohydrates | 24 grams |
| Dietary Fiber | 1 gram |
| Total Sugars | 1 gram |
| Total Fat | 11 grams |
| Saturated Fat | 7 grams |
| Protein | 4 grams |
| Sodium | 380 milligrams |
| Calcium | 80 milligrams |
Disclaimer
Please keep in mind that everyone’s body, health conditions, and digestive system are completely unique, which means individual nutrition needs and digestion experiences can vary from person to person. While sourdough products are generally easier on the stomach for many people, this article is intended for general informational and educational purposes only and should not replace professional medical or dietary advice. Always consult with a qualified doctor or certified nutritionist if you have specific dietary restrictions, severe gluten sensitivities, or underlying health concerns before making big changes to your daily eating habits.